If you are targeting the Beaglebone Black, there are a few additional tutorial posts. Part 3 covers Debian Host Cross-Compiler Setup. Part 4 continues with building the u-boot bootloader, the Linux kernel and preparing a Debian Jessie root filesystem for the BeagleBone Black. Part 5 goes through the steps to create a micro SD image from your builds to and copying it to eMMC. Part 6 shows how to set up remote debugging in eclipse using gdb for an application.
2 Debian Host Software Setup
2.1 Serial Port Setup for Linux Console Access
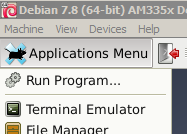
Log in to the user account and open a Terminal Emulator.
Use the su command in the terminal to login to the root account. For the password prompt use the root password.
user@debian:~$ su -
Password:
root@debian#
Install the minicom program to access the serial port and the target console (with a USB to serial device).
root@debian# apt-get install minicom
Minicom will have hardware flow control enabled by default, you will need to turn that off first thing.
root@debian# minicom --setup
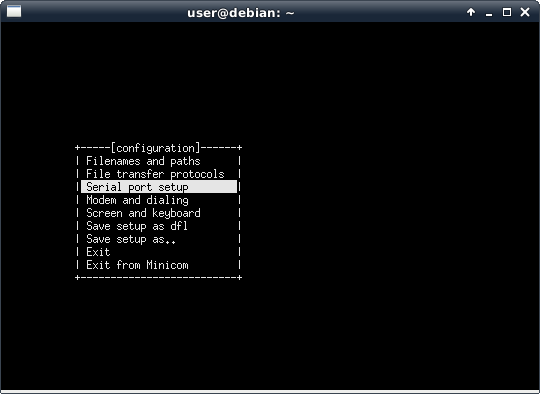
Use the arrow keys to Select Serial port setup and press ENTER.

Toggle the flow control settings by pressing 'f' so they are both set to 'No'
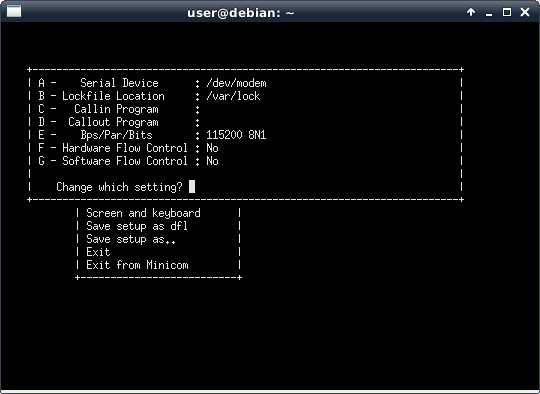
Hit them ESC key to exit the menu.
Use the arrow keys to select save the setup as default.
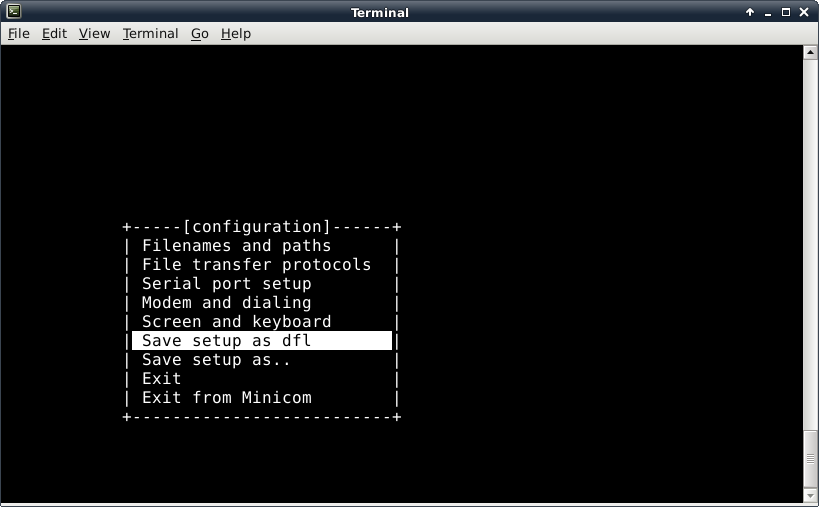
Press enter, then arrow down to ‘Exit from Minicom’ and press enter. You can ignore the error message about /dev/modem if you see it.
A USB-to-serial device will be used to connect to the target. For the BeagleBone Black use an FTDI cable, part number TTL-232R-3V3, available at digikey.com (Digi-Key part number 768-1015-ND) and a few other distributors. Adafruit also has a compatible USB-to-serial cable with transparent plastic so you can see the rx and tx LEDs.
You need to see what path it was assigned. You can do that with the dmesg command.
root@debian# dmesg | grep ttyUSB
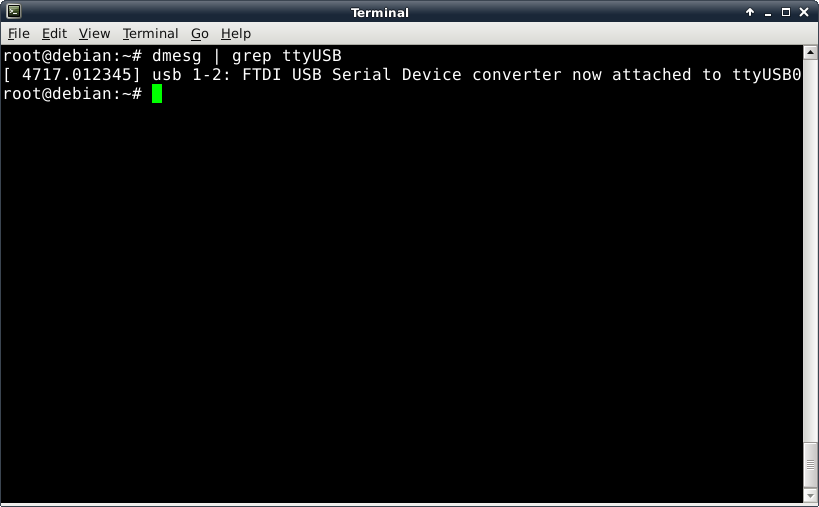
The command shows that it can be accessed at /dev/ttyUSB0. Use this with minicom’s -D option.
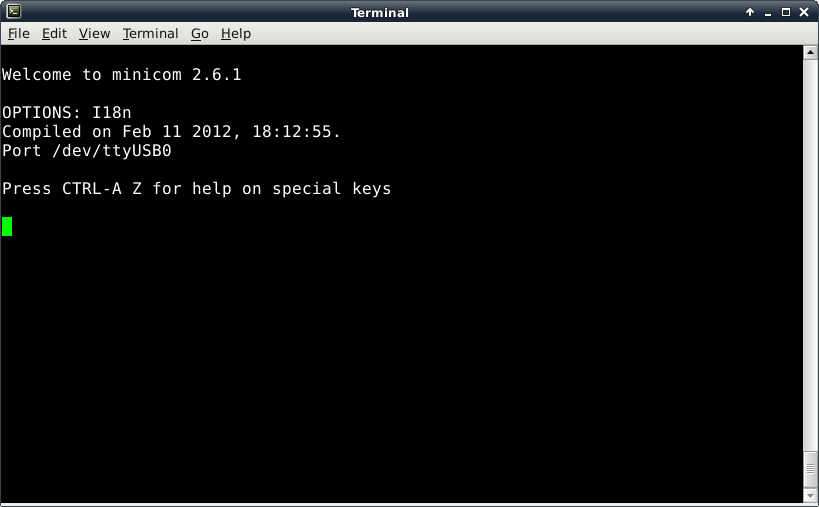
root@debian# minicom -D /dev/ttyUSB0
If you now connect a BeagleBone Black connected and power it up you will see boot messages and a login prompt. If you don’t have one set up yet skip to the next section.
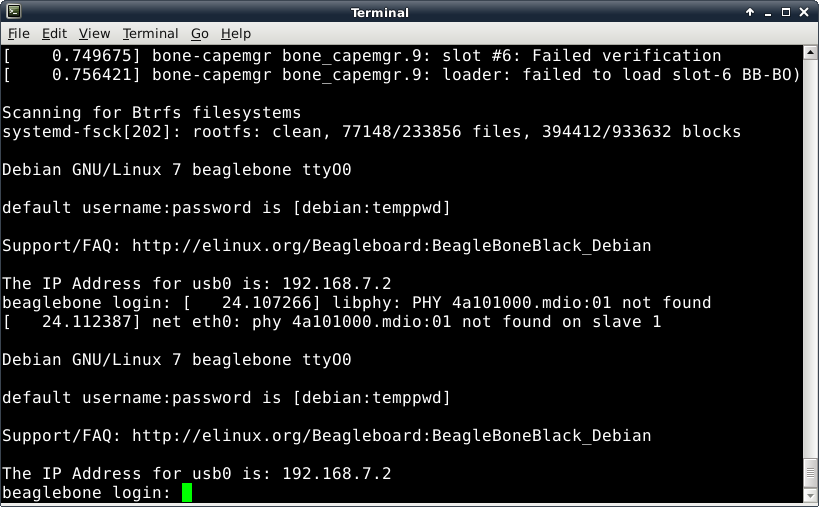
Log in with the shown username password (debian and temppd). Shutdown the Beaglebone with the following before disconnecting power.
debian@beaglebone:~$ sudo shutdown -h now
To exit minicom type CONTROL-A then press Q, it will prompt to leave without reset, just hit ENTER for the default, .
2.2 Install Development Tools and Utilities
Install git to retrieve source files from the internet for the Linux Kernel and the bootloader.
root@debian# apt-get install git git-gui gitk
The sudo program is used by some scripts and eclipse for remote debug. It performs commands as if you were logged in as root.
root@debian# apt-get install sudo
Replace the hightlighted word 'user' in the next command with your development username (not root). For example, if you logged in as joe, the command will be 'adduser joe sudo'.
root@debian# adduser user sudo
root@debian# adduser user sudo
The user that was added must log out completely and log in again for the adduser command to take effect.
To use sudo, just enter the user password when prompted (not root’s password). You can test it by listing the /root directory.
user@debian:~$ ls /root
ls: cannot open directory /root: Permission denied
user@debian:~$ sudo ls /root
[sudo] password for user:
Desktop Documents Downloads Music Pictures Public Templates Videos


No comments:
Post a Comment